Most password managers begin by asking you to sign up. Zen Passwords does not, because there is no server holding your vault to sign up to. That makes the first five minutes shorter, and it also means one step matters more than it would elsewhere: nobody can let you back in if you forget your master password, so step two is not optional.
The four steps
Create your vault
Open the app and choose a master password. This is the one password you have to remember, and it is never sent anywhere. Make it long rather than complicated: a passphrase of four or five unrelated words is easier to remember and harder to attack than a short string of symbols.
Save a recovery key, now rather than later
The recovery key is what gets you back in if you forget the master password. You can keep it yourself, or split it across people you trust with social recovery. This is the step people skip, and it is the only one that cannot be done afterwards.
Turn on AutoFill
This is what makes the app useful day to day. Once Zen Passwords is your AutoFill provider, your logins are offered in Safari and in other apps the way the built in ones are, along with one-time codes and passkeys.
Add your first login
Tap the plus button and pick the kind of thing you are saving. Start with an account you sign into often, so you see AutoFill working the same day rather than a week later.
What you can keep in it
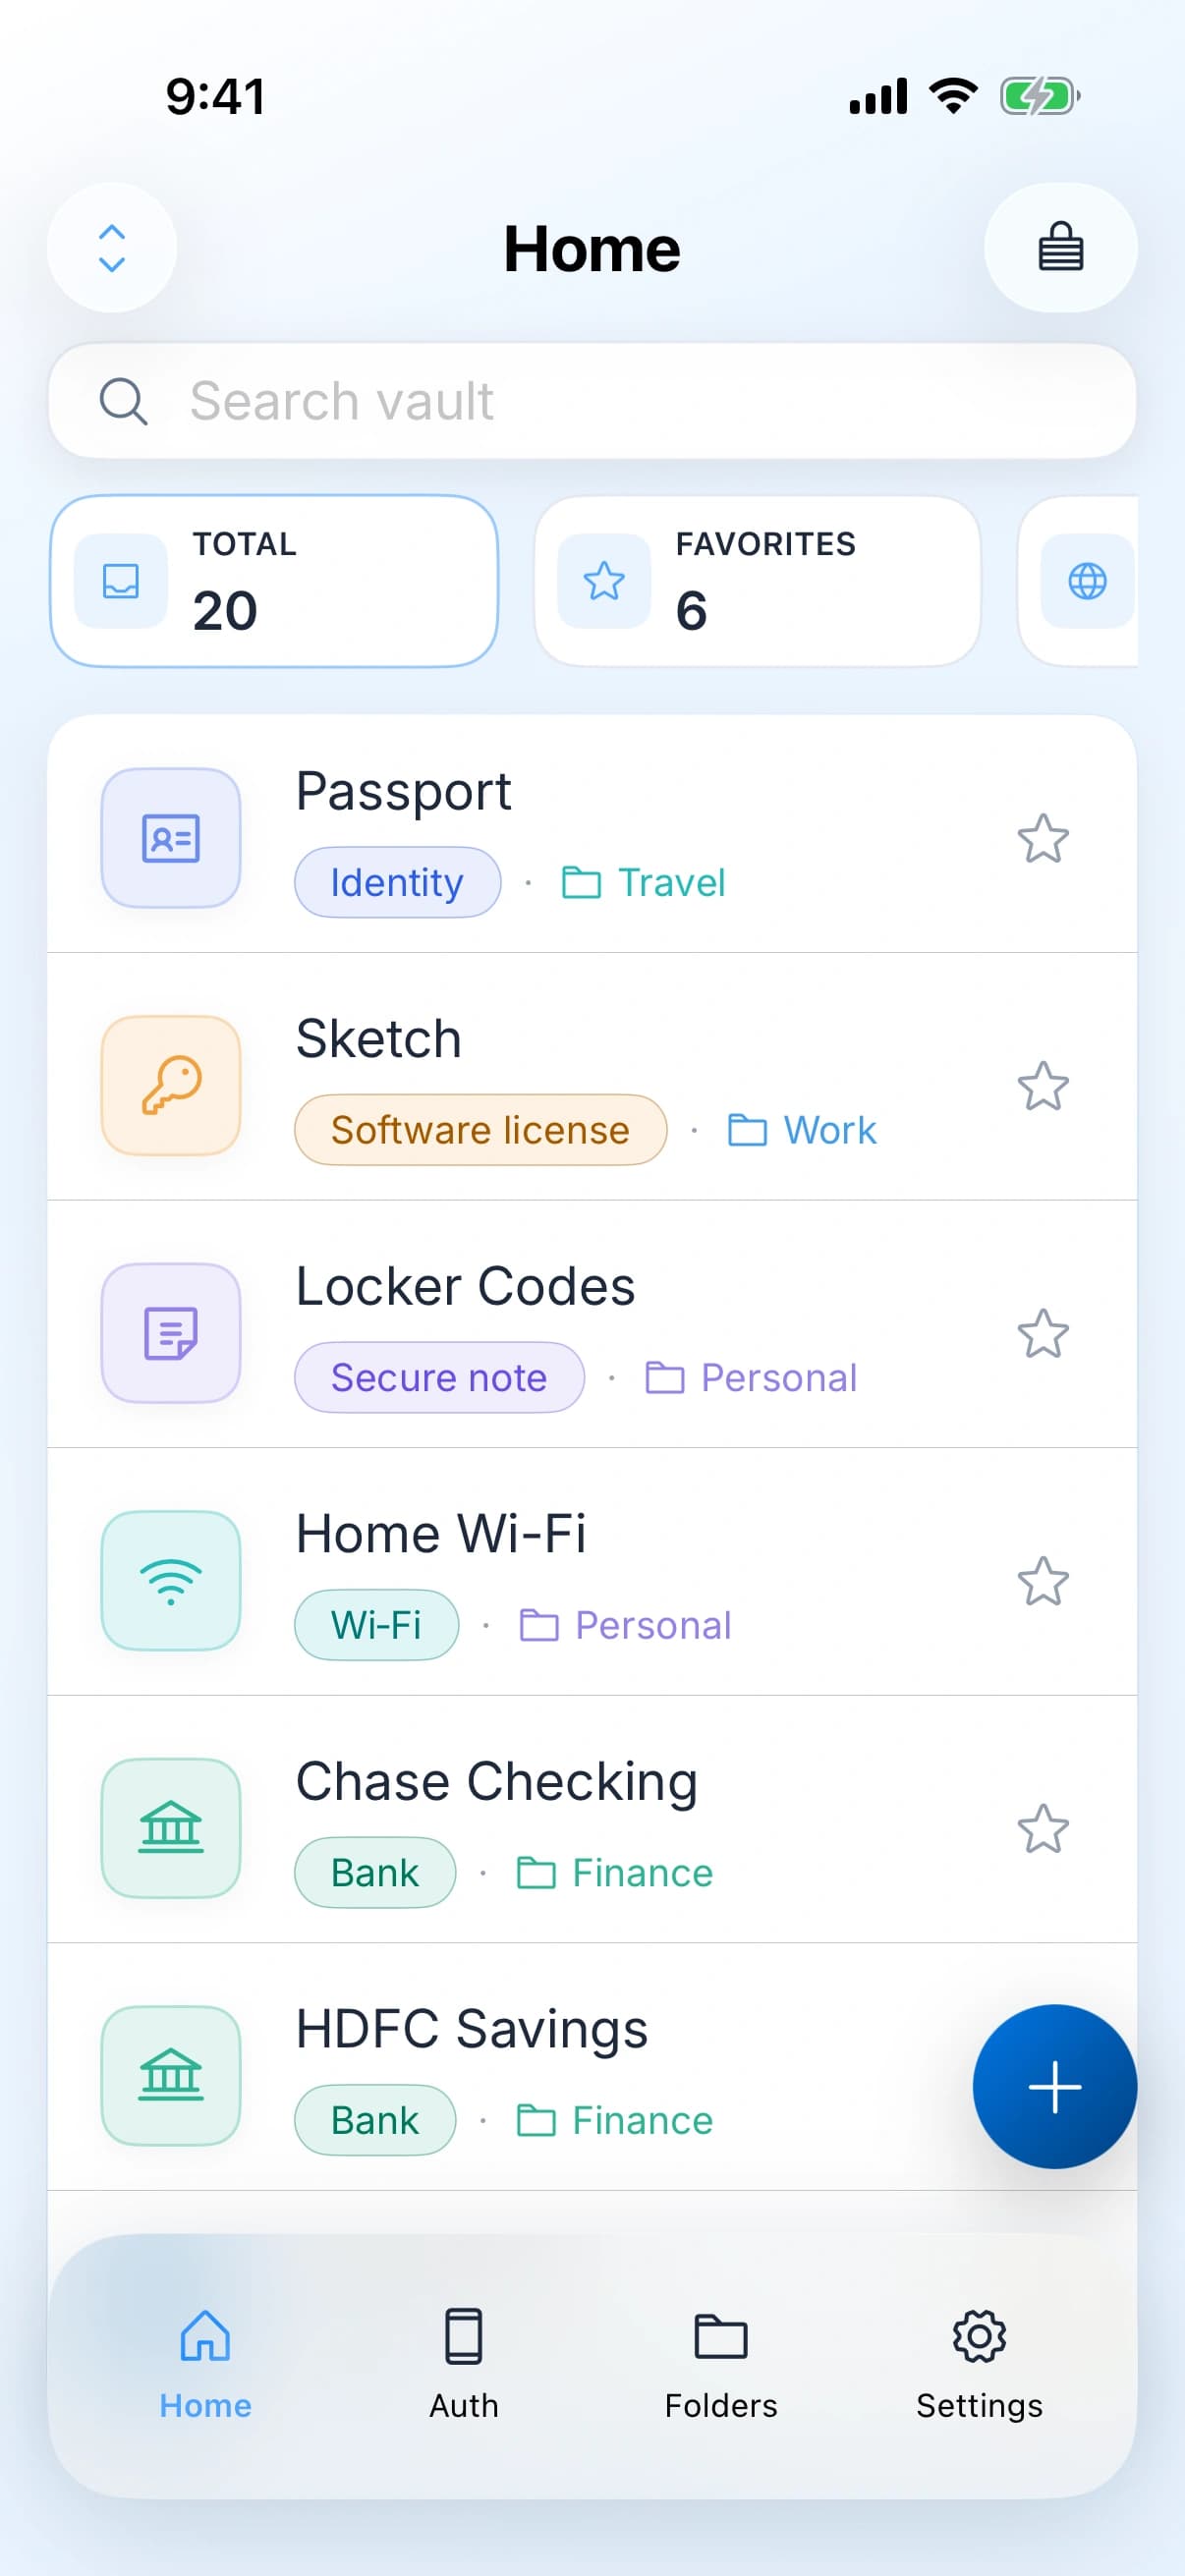
It holds more than website logins. Seven kinds of thing live in the vault, each with its own fields, and you can attach photos to any of them:
- Web logins, with passkeys and one-time codes attached to the entry they belong to
- Payment cards
- Bank details
- Identity documents
- Wi-Fi networks
- Software licences
- Secure notes
The two optional things
Neither is on by default, and the app works without both. Face ID, Touch ID or Optic ID unlocks the vault without typing the master password every time. iCloud sync carries the vault to your other Apple devices through your own Apple ID.
After your first login works
Set up one-time codes for accounts that offer them. If suggestions do not appear, use AutoFill troubleshooting. Review the five-item free tier before importing a larger vault.