This is the setting that decides whether a password manager is useful or a chore. Without it you are copying and pasting; with it you tap a suggestion above the keyboard and you are in. Apple deliberately puts the switch in system settings rather than in the app, so no app can turn itself on without you.
On iPhone and iPad
Open Settings, then look for AutoFill
It sits under the passwords section of system settings. Apple has moved it between iOS versions, so if it is not where you expect, search Settings for AutoFill rather than hunting for it.
Turn on Zen Passwords
You can have more than one provider switched on at once. If you are still moving across from another manager, leave both on until you are sure everything came over.
Sign in somewhere to check
Open an app or a site you have a saved login for. The suggestion appears above the keyboard on the username field. If nothing appears, the entry probably has no web address saved against it.
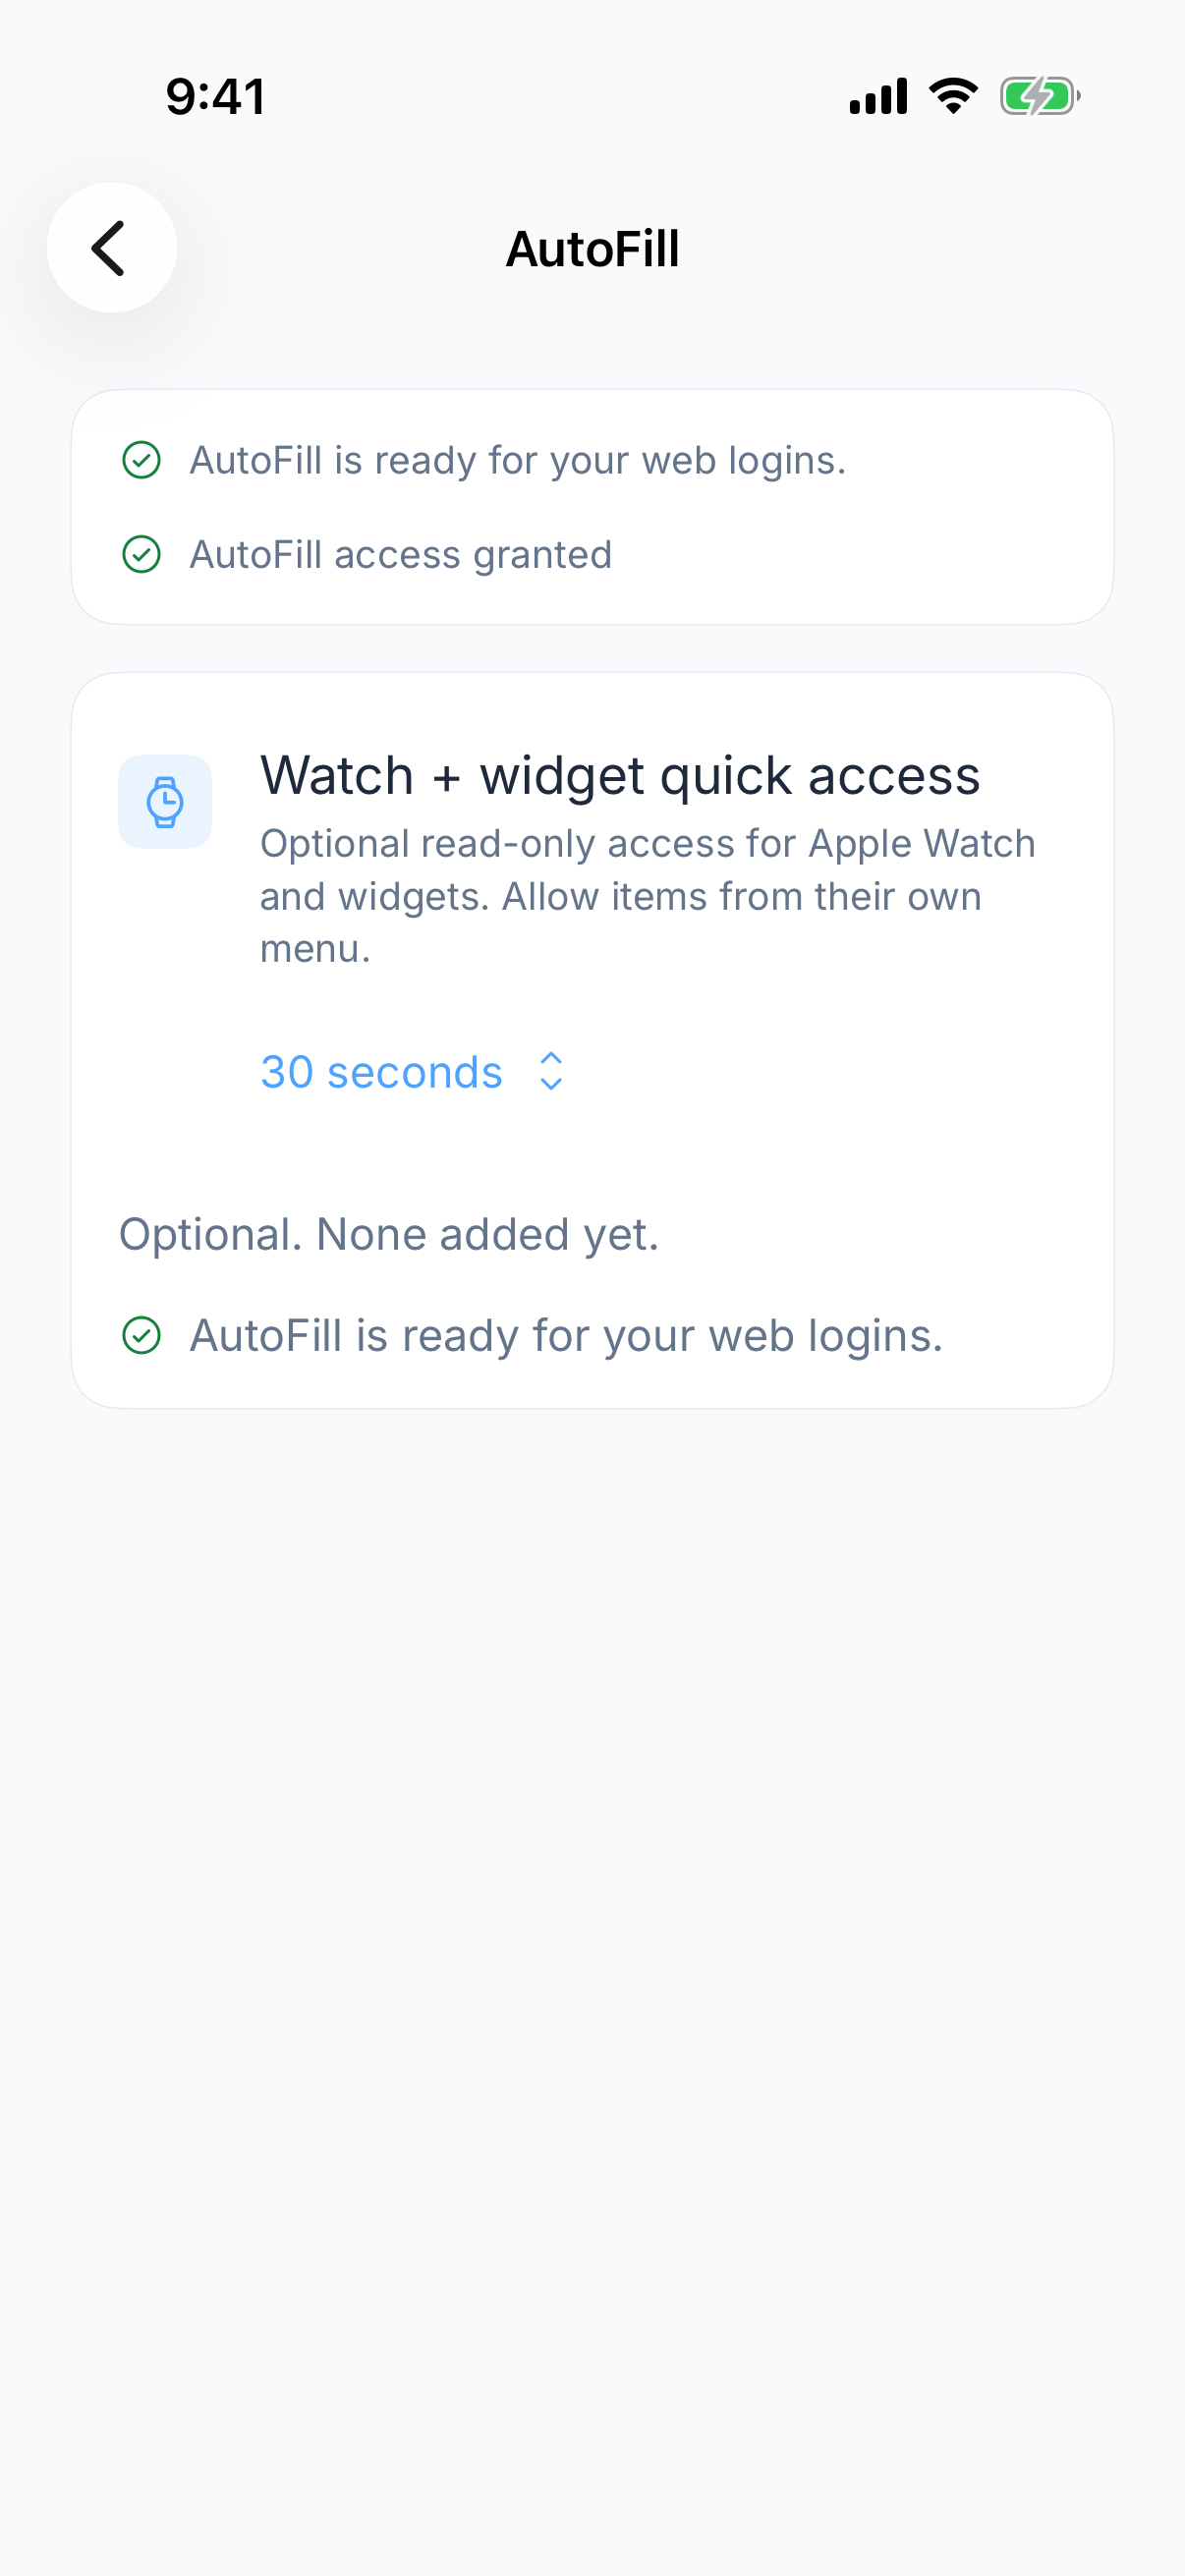
On Mac
Same idea, different place. The AutoFill provider setting lives in System Settings on macOS, and it applies to Safari and to other apps that ask the system for a password. Turning it on for your Mac does not turn it on for your iPhone: the setting is per device, even when your vault syncs between them.
What it fills
- Logins, username and password together
- One-time codes, so you are not switching to another app to read six digits
- Passkeys, where the site offers one
Check one login on every device
A synced vault does not enable the system AutoFill setting for you. Test a saved login on each device. If it fails, use AutoFill troubleshooting. When password filling works, test one-time codes and passkeys separately.