
You are replying to a client in Mail. Place the cursor in the reply, hold your dictation key and say, “Thanks for the brief. I will send the first draft on Thursday.” Release the key, review the text and send it yourself. That is the workflow Zen Whisper is designed for.
This guide covers setup and your first dictation. If you are still choosing between tools, read the Apple Dictation and Zen Whisper comparison.
Before you start
- An Apple Silicon Mac, M1 or newer, running macOS 14 Sonoma or later.
- Microphone and Accessibility permissions. The microphone captures speech; Accessibility enables the shortcut and text insertion.
- An internet connection for the initial speech pack download and license validation. Optional network features also need a connection.
Set up your first dictation
- Download Zen Whisper from the product page, move it to Applications and open it.
- Grant Microphone and Accessibility permissions when prompted.
- Download a local speech pack during onboarding. Wait for the download to finish before testing offline dictation.
- In Preferences, choose one of the offered right-hand modifier keys: Command, Option or Control.
- Place the cursor in an ordinary text field, hold the chosen key, speak one sentence and release.
- Read the result before using it. Check names, numbers and punctuation, then repeat in the app where you normally write.
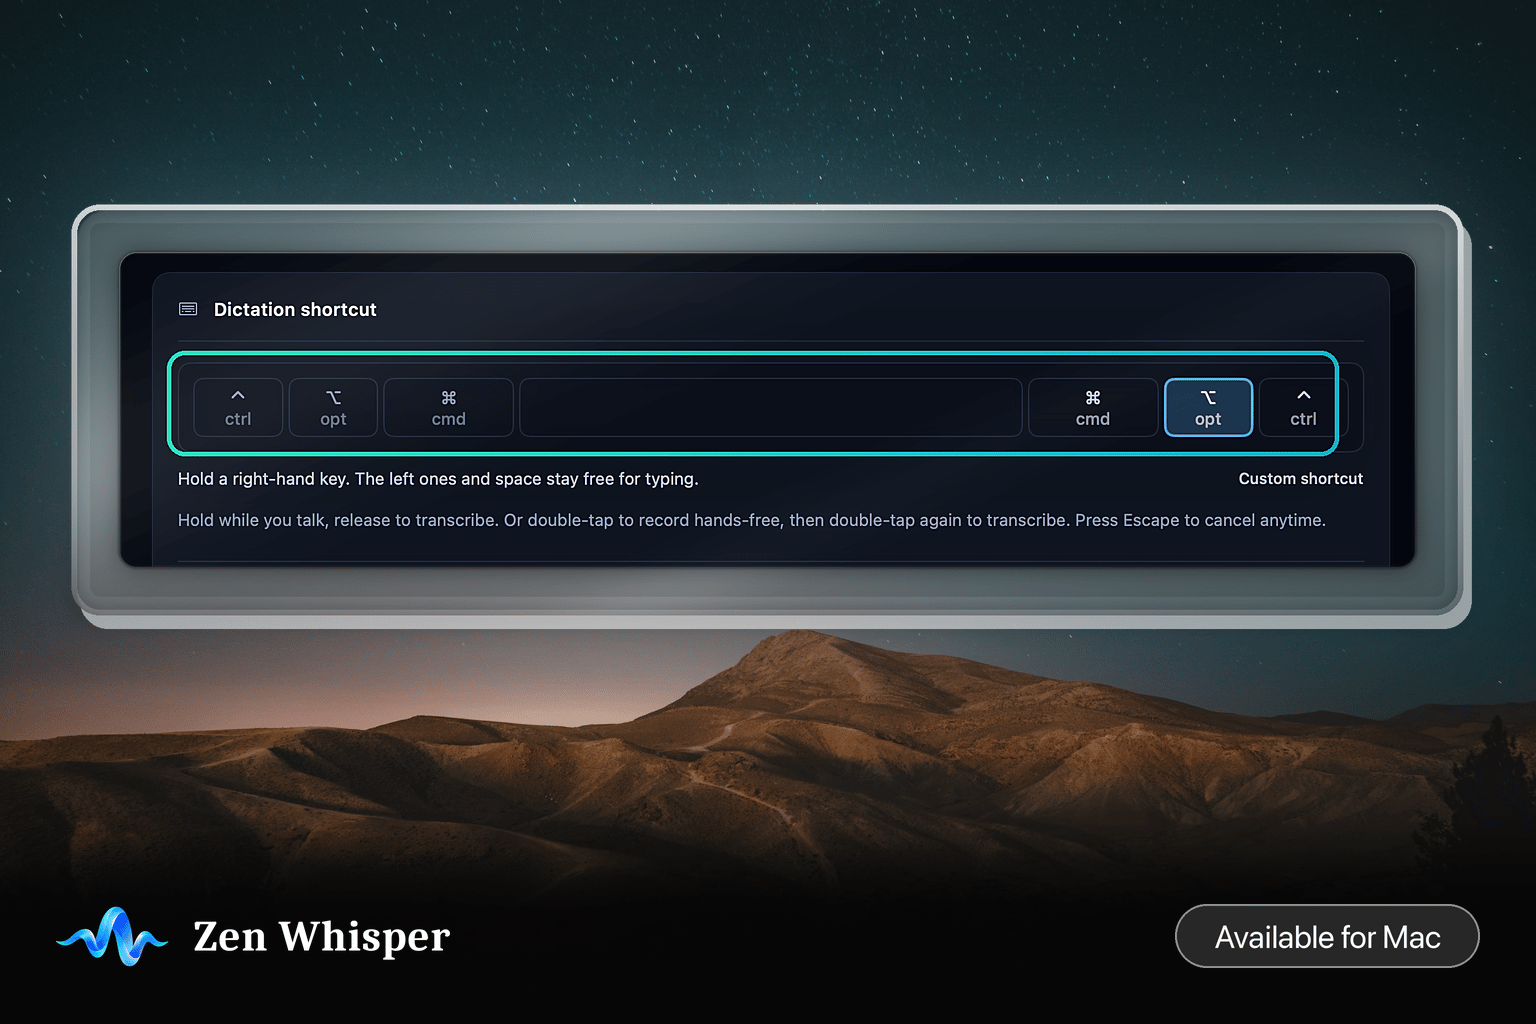
Choose a key you can hold comfortably
Use a right-hand modifier offered in Preferences. Try it in the apps you use daily and change it if it conflicts with another shortcut. Keep the shortcut separate from combinations you already use for editing.
If no text appears
- Check that the insertion point is in an editable text field. Start with a short note, rather than a terminal or a password field.
- Confirm that a local speech pack has finished downloading and is selected.
- Check Microphone and Accessibility access for Zen Whisper in macOS System Settings.
- Try a short sentence in another app. If it works there, the problem may be specific to the first text field.
If it still fails, contact Zen Products support with your macOS version, app version and the name of the app you were dictating into. Do not send confidential audio or passwords.
Choose the language you actually speak
Zen Whisper offers 110 spoken-language options, including Hinglish in Roman script. Select a language, or use language detection, and choose a speech pack suited to your workflow. Test a sentence containing the names and terms you use. The personal dictionary can help with recurring vocabulary.
What stays on your Mac
Core speech recognition runs locally with downloaded speech packs. Cloud engines are optional, off by default, and use API keys you supply. Local recognition does not mean every feature is offline: downloads, license checks and optional network features still connect. See the Zen Whisper privacy policy for the boundaries.
Try it with one real message
The Pro trial starts with your first transcription and lasts 14 days. Afterward, the free tier allows 3,000 words a week. Review the current options and download on the Zen Whisper product page. For an existing recording rather than live typing, use the local interview transcription guide.
